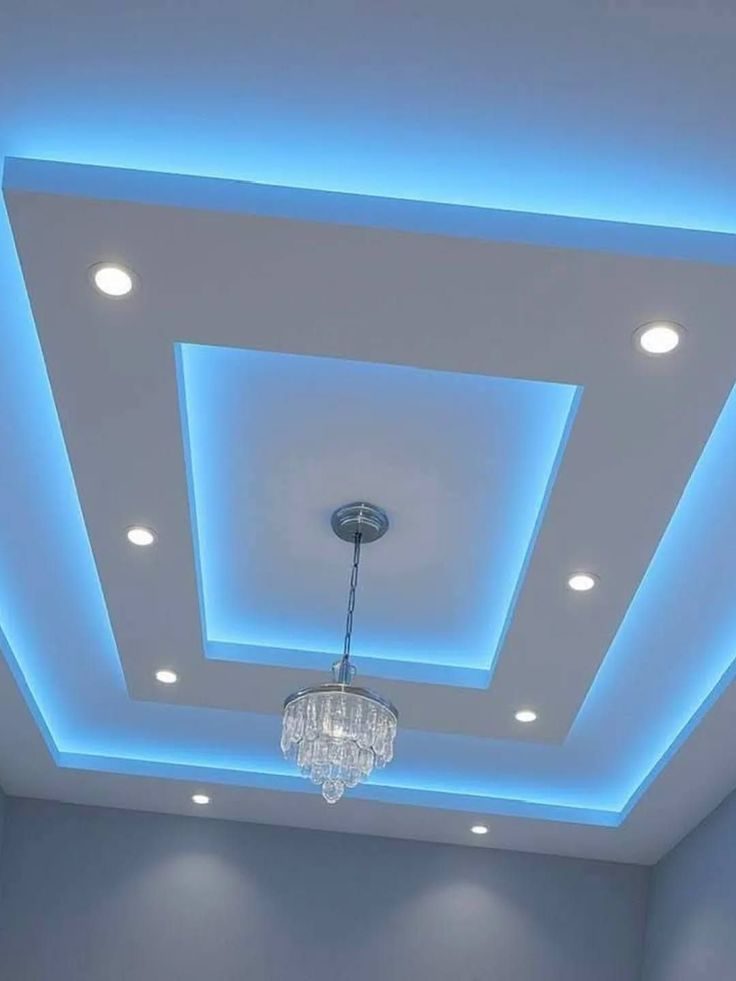
5 Gypsum Ceiling Mistakes to Avoid in Nairobi Apartments
Planning a gypsum ceiling in a Nairobi apartment? Avoid these 5 critical mistakes including excessive ceiling drops, cheap 0.35mm framing, sealed plumbing access, and missing sound insulation.
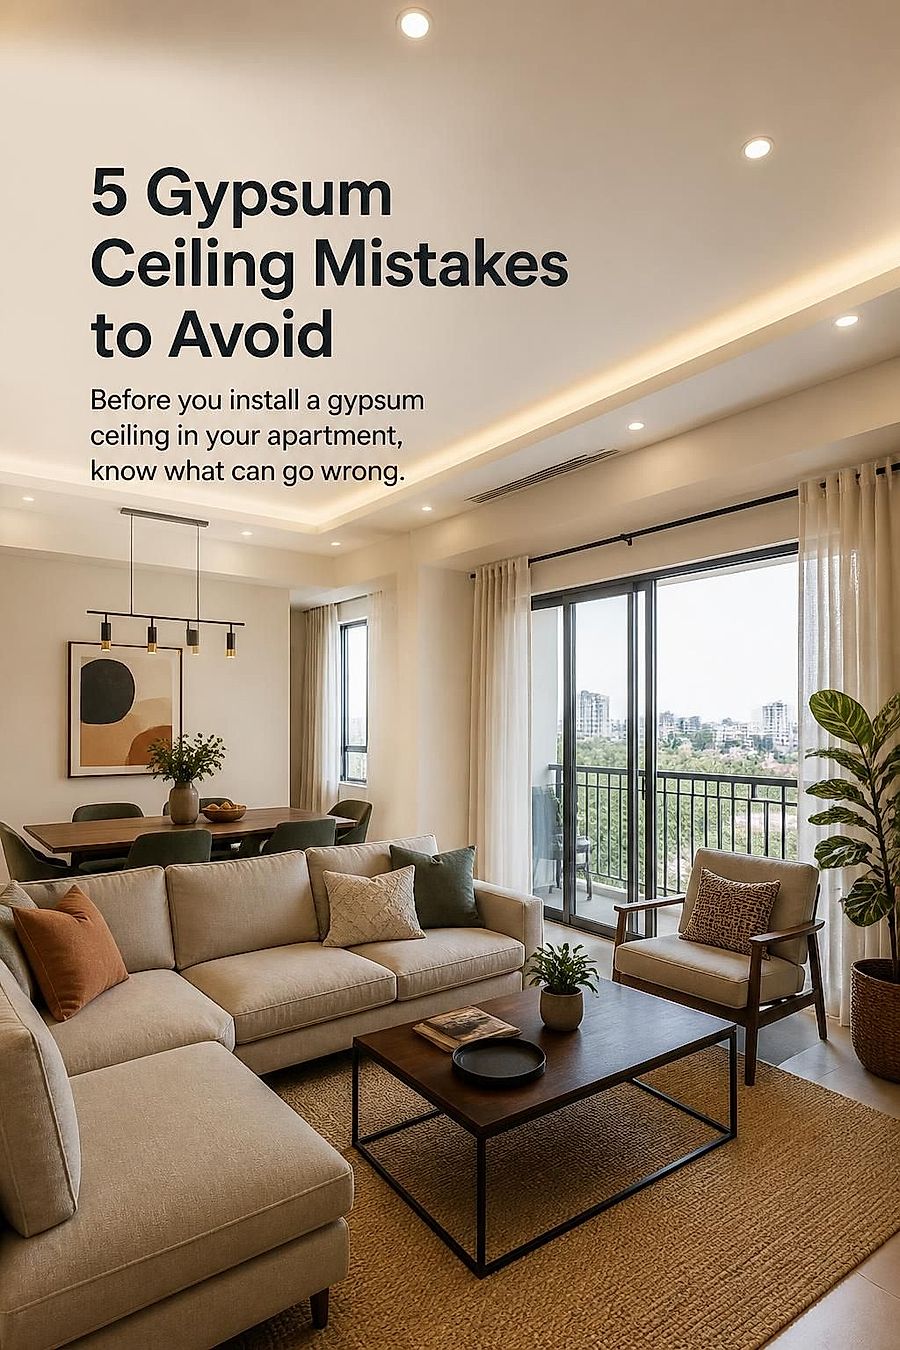
Designing a gypsum ceiling in a Nairobi apartment comes with a unique set of technical constraints. Unlike standalone bungalows or maisonettes where you have generous floor-to-ceiling clearance and full control over the roof structure, high-rise apartments in estates like Kilimani, Kileleshwa, Westlands, Lavington, and Ruaka share structural concrete slabs, shared plumbing stacks, and rigid slab heights.
When a fundi attempts to install a heavy upcountry ceiling design without accounting for apartment mechanics, the results can be disastrous. Homeowners end up with claustrophobic living rooms, cracked wall junctions, amplified footstep noise from upstairs neighbors, and ruined ceilings when plumbing leaks occur.
Understanding these pitfalls before starting your interior renovation saves you money, protects your property value, and ensures your home looks sleek and spacious.
Here are the 5 most common gypsum ceiling mistakes in Nairobi apartments and how to avoid them.
1. Dropping the Ceiling Too Low and Suffocating Your Living Space
Most modern apartment developers in Nairobi build concrete floor slabs with a clear floor-to-ceiling height of 2.6 meters to 2.7 meters.
When homeowners see multi-tiered gypsum ceiling designs online, they often try to copy massive 250mm or 300mm dropped tray bulkheads. In a high-rise sitting room, dropping the ceiling by almost a foot brings the finished ceiling down to 2.3 meters.
What This Mistake Looks Like in Practice
You step into your sitting room and immediately feel a heavy, oppressive box hovering over your head. Doors feel unproportionately tall, natural light from the balcony is blocked at the top edge of the window frame, and suspended pendant lights end up hanging dangerously close to eye level.
The Professional Fix
Keep your total ceiling drop between 90mm and 120mm.
- Perimeter Cove Designs. Instead of dropping the entire middle section of the room, install a shallow perimeter drop along the walls for indirect LED strip lighting and keep the center plane flush against the concrete slab.
- Recessed Profile Channels. Use slim 15mm aluminum LED profile channels mounted directly inside a single-layer board frame to achieve modern linear lighting without losing headroom.
- Curtain Box Extensions. Stop the gypsum tray 200mm away from balcony windows. This creates a concealed curtain recess that allows full-height drapes to drop from the slab, making your room feel taller.
2. Using Cheap 0.35mm Light-Gauge Framing Profiles
In high-rise apartment blocks, concrete slabs naturally flex and vibrate when neighbors walk, run, or move heavy furniture on the floor above.
To win contracts on price, cut-price fundis frequently use paper-thin 0.35mm or 0.38mm light-gauge metal studs meant for lightweight wall partitions rather than structural ceiling suspension.
POOR SPECIFICATION (0.35mm Light Frame)
[ Upstairs Slab Vibration ] ---> [ Bending Light Frame ] ---> [ Cracking Plaster Joints ]

CORRECT SPECIFICATION (0.50mm Heavy Galvanized Frame)
[ Upstairs Slab Vibration ] ---> [ Rigid Heavy Frame + Rubber Anchors ] ---> [ Flawless Ceiling ]
What This Mistake Looks Like in Practice
Six months after installation, you notice fine wavy ripples running across your living room ceiling. Every time the kids in the apartment above sprint across their floor, your hanging ceiling bounces slightly. Eventually, drywall screws pop through the plaster coating, leaving small round pimples across your painted ceiling.
The Professional Fix
Demand heavy-gauge 0.50mm to 0.60mm galvanized steel channels for all main runners and cross studs.
- Heavy-Gauge Framing. Standard 9mm or 12mm plasterboard weighs roughly 7kg to 9kg per square meter. A rigid 0.50mm frame prevents board sagging under this weight.
- Concrete Anchor Bolts. Suspend the ceiling frame using steel expansion anchor bolts fixed into the concrete slab rather than plastic plugs that loosen under overhead vibration.
- Grid Spacing. Ensure cross studs are spaced strictly at 400mm or 600mm center-to-center intervals to provide uniform support across every board.
3. Permanently Sealing Over Plumbing Riser Pipes and AC Drain Access
In multi-story Nairobi apartments, the waste pipes for the bathroom or kitchen directly above your apartment run through the ceiling void over your head. Air conditioning refrigerant lines and electrical junction boxes are also tucked into this space.
One of the worst mistakes a contractor can make is boarding up the entire ceiling frame without building inspection access points under critical plumbing valves and pipe traps.
+-----------------------------------------------------------------------+
|                    UPSTAIRS APARTMENT BATHROOM SLAB                   |
|                                                                       |
|      [ Waste Pipe Trap ]                    [ Stop Cock Valve ]       |
|              |                                       |                |
|  ------------+---------------------------------------+--------------  |
|  |                 CONCEALED CEILING VOID (150mm)                    |  |
|  +------------------------+--------------------------+----------------+  |
|                           |                          |                   |
|                   [ Access Hatch 1 ]         [ Access Hatch 2 ]          |
|                   (Under Pipe Trap)          (Under Valve Unit)          |
|                                                                          |
|  ===================================================================  |
|                  FINISHED FLUSH GYPSUM CEILING PLANE                  |
+-----------------------------------------------------------------------+
What This Mistake Looks Like in Practice
Your upstairs neighbor experiences a clogged shower drain or a slow pipe connector leak. Water collects on top of your gypsum ceiling for days. You wake up to find a wide, yellow-brown water stain spreading across your master bedroom ceiling. Because there is no access hatch, the plumber has to hack a jagged hole through your finished ceiling using a hammer or saw to reach the pipe.
The Professional Fix
Map out all overhead service points before fixing plasterboards and install magnetic flush access panels.
- Flush Inspection Trapdoors. Install factory-made aluminum access hatches fitted with gypsum inlay doors directly beneath waste traps, AC drain joints, and main electrical junction boxes.
- Concealed Magnetic Locks. These panels fit completely flush with your painted ceiling and open with a gentle push, allowing plumbers to service leaks without destroying your plasterwork.
- Moisture-Resistant Greenboard Under Wet Zones. Always use green Moisture-Resistant (MR) gypsum board in ceiling areas located beneath upstairs bathrooms or kitchens.
4. Rigid Wall Junctions Without Shadowline Profiles
High-rise buildings undergo micro-movements caused by wind loads, thermal expansion, and settlement. Concrete walls and concrete floor slabs expand and contract at different rates than steel-framed gypsum ceilings.
When fundis plaster gypsum boards directly against plastered masonry walls without an expansion break, structural stress accumulates right along the corner seam.
What This Mistake Looks Looks Like in Practice
A long, continuous zigzag crack opens up around the entire perimeter of your sitting room where the ceiling meets the wall. Even if you scrape out the crack, apply filler, and repaint, the crack reappears within a few weeks because the two surfaces are moving independently.
The Professional Fix
Incorporate a deliberate expansion joint around the room perimeter using an aluminum shadowline profile or fiberglass joint reinforcement.
- Aluminum Shadowline Profile. A metal profile creates a neat 10mm recessed gap between the edge of the gypsum ceiling and the wall. This shadow gap hides natural building movement while giving your ceiling a modern floating appearance.
- Fiberglass Mesh Taping. If you prefer a seamless flush wall-to-ceiling corner, your installer must embed self-adhesive fiberglass mesh tape into high-strength joint compound across the junction before applying skim plaster.
- Acrylic Caulk Sealing. Fill internal corner seams with flexible, paintable acrylic sealant rather than rigid filler to absorb structural movement.
5. Forgetting Overhead Acoustic Insulation in High-Density Blocks
A hollow gypsum ceiling suspended 150mm below a concrete slab acts like an acoustic soundboard. When sound waves pass through the upper concrete floor into the empty ceiling cavity, the air pocket resonates and amplifies the noise.
Homeowners who invest in beautiful gypsum ceiling lighting often forget to insulate the ceiling void, turning their quiet apartment into an echo chamber for upstairs noise.
What This Mistake Looks Like in Practice
You sit down in your living room to watch a movie, but you can clearly hear your upstairs neighbor dragging dining chairs, dropping shoes on the tile floor, or talking loudly. The hollow space above your ceiling makes every impact sound seem louder than it was before you installed the false ceiling.
The Professional Fix
Line the internal ceiling cavity with acoustic insulation batts before screwing the plasterboard into place.
- Rockwool or Glasswool Batts. Lay 50mm thick high-density mineral wool or rockwool batts (minimum density 40kg/m³) directly over the metal framing grid.
- Acoustic Sound Absorption. Insulation absorbs sound vibration traveling through the concrete slab, reducing overhead impact noise by up to 60 percent.
- Thermal Regulation. Mineral wool insulation also stops heat from radiating down into top-floor apartments during hot months, keeping your living room cooler.
Summary: Standard vs Professional Apartment Gypsum Installation
Avoiding these five mistakes comes down to setting clear technical specifications before your contractor begins work.
| Installation Feature | Cut-Corner Installation | Professional Apartment Standard |
|---|---|---|
| Ceiling Drop Height | 200mm to 300mm (Blocks light and reduces space) | 90mm to 120mm (Preserves room height and proportion) |
| Metal Frame Gauge | 0.35mm light channels (Sags and vibrates) | 0.50mm to 0.60mm heavy galvanized steel (Rigid and durable) |
| Plumbing Protection | Closed ceiling with zero access points | Concealed magnetic access trapdoors under pipe traps |
| Wall Junction Finish | Plain joint filler slapped against wall (Cracks easily) | 10mm aluminum shadowline profile or flexible acrylic joint |
| Acoustic Insulation | Empty hollow air void (Amplifies overhead noise) | 50mm rockwool acoustic batts inside frame void |
Frequently Asked Questions
How much headroom do you lose with a gypsum ceiling in a Nairobi apartment?
A professionally designed single-level flat ceiling or perimeter drop requires only 90mm to 120mm (about 3.5 to 4.5 inches) of space. This leaves you with a comfortable finished ceiling height of over 2.5 meters in standard Nairobi developments.
How do you fix a ceiling joint crack between the gypsum board and the wall?
Scrape out the loose plaster along the crack using a putty knife. Apply paintable flexible acrylic sealant into the gap, overlay self-adhesive fiberglass mesh tape across the joint, apply two thin coats of joint compound, feather the edges outward by 150mm, sand smooth, prime, and repaint.
Is soundproofing necessary inside an apartment gypsum ceiling?
While not strictly required structurally, installing soundproofing inside your ceiling void is highly recommended for apartment living. Adding 50mm mineral wool insulation inside the frame significantly dampens impact noise like footsteps and scraping furniture from neighbors living above you.
How much does a professional gypsum ceiling cost per square meter in Nairobi?
In Nairobi apartments, a professional gypsum ceiling installation costs between KSh 1,800 and KSh 2,500 per m² for plain flat designs, and KSh 2,500 to KSh 4,500 per m² for complex multi-level designer setups with recessed LED coves. This price includes heavy-gauge metal framing, moisture-resistant greenboard where required, joint skimming, sanding, primer, and high-grade matte ceiling paint.
Transform Your Nairobi Apartment with BenPhil Interiors
Installing a gypsum ceiling in a high-rise apartment requires precision leveling, structural framing expertise, and thoughtful lighting integration.
At BenPhil Interiors, our master technicians specialize in high-end apartment transformations across Kilimani, Kileleshwa, Westlands, Lavington, Parklands, South B, South C, and Ruaka. We use heavy 0.50mm galvanized framing, concealed access hatches, and shadowline profiles to deliver clean, quiet, and perfectly finished ceilings that elevate your living space.
Need Expert Gypsum Ceiling Installation in Nairobi?
Contact our engineering team today to schedule a site measurement, structural assessment, and detailed project quote.
📲 Click Here to WhatsApp BenPhil Master Craftsmen
📞 Call Us Directly: +254 107451486
📍 Service Coverage: Kilimani, Kileleshwa, Westlands, Lavington, Karen, Runda, Muthaiga, Ruaka, Syokimau & across Nairobi County.
Looking for fit-out services near you? Explore our team's work in Nairobi.
Have a project in mind?
Get a free consultation and rough quote within hours.
.jpg)
.png)